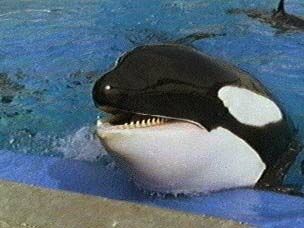

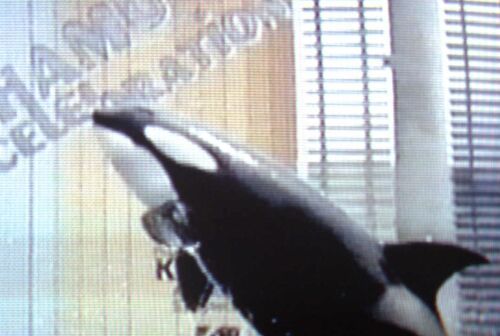
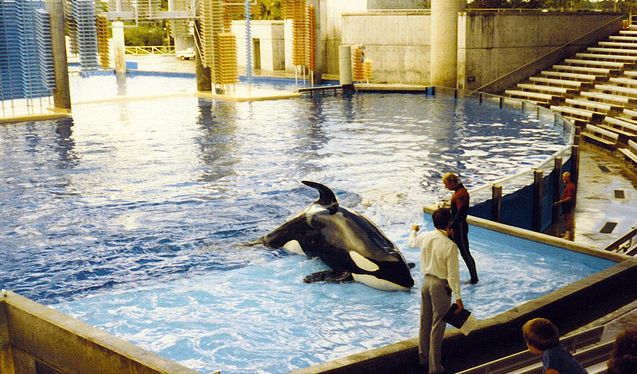
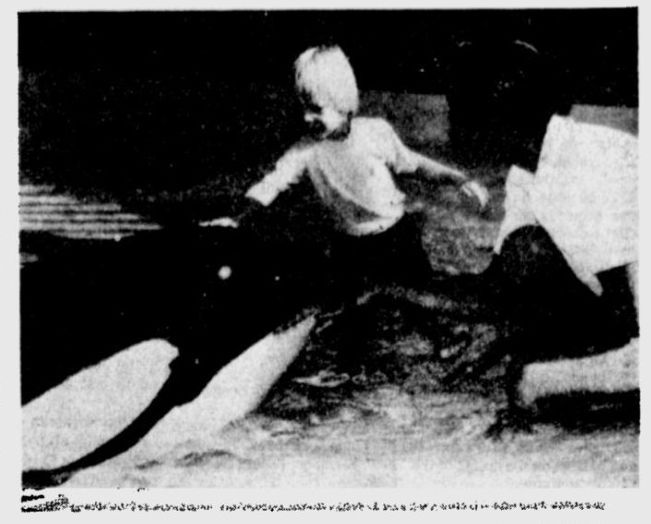
pictures of Kona 2 provided by Alairra and Krystle Rodrique.
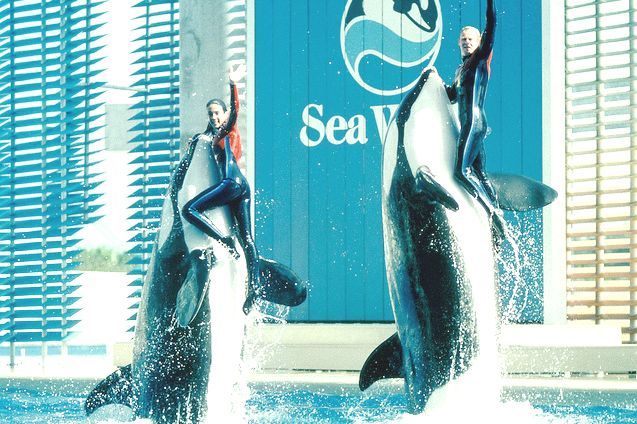
picture of Kona 2 provided by Alairra, Krystle Rodrique and HaH.
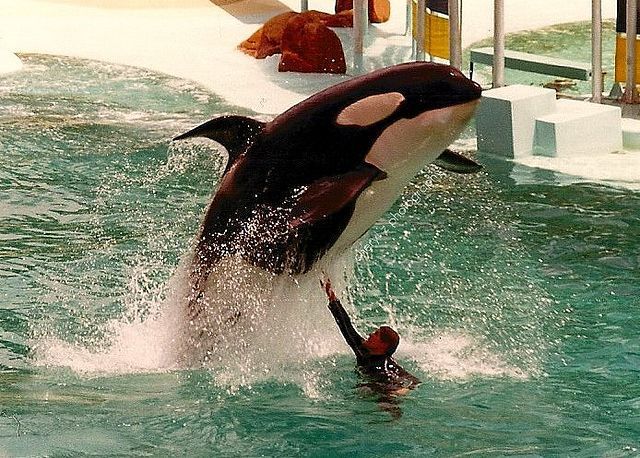
pictures of Kona 2 provided by Rachel Cali.
picture of Kona 2 provided by Tiggerlily.
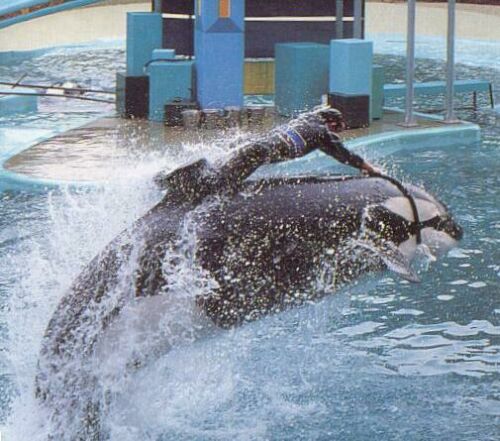
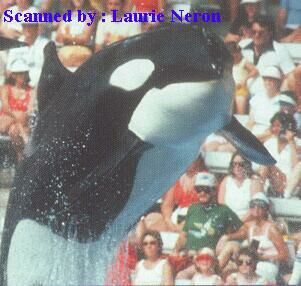
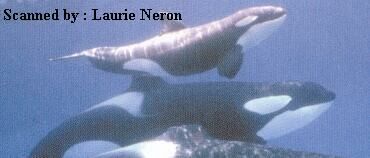
pictures of Kona 2 provided by Laurie Néron.
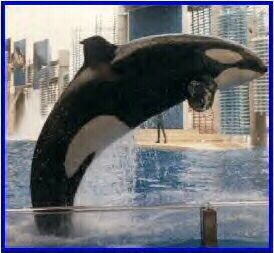
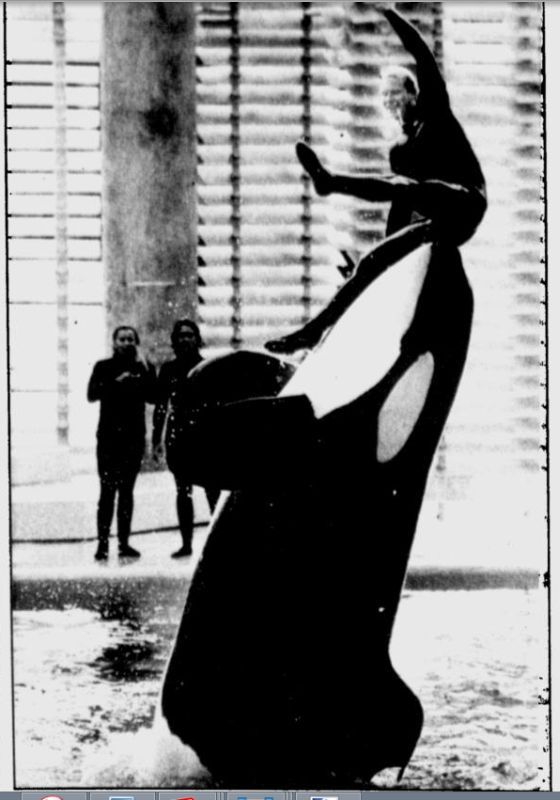
pictures of Kona 2 provided by KE Wiley.
pictures of Kona 2 provided by Kim Zerbe.
pictures of Kona 2 provided by OrcaArtist.
picture of Kona 2 provided by Mandy H.
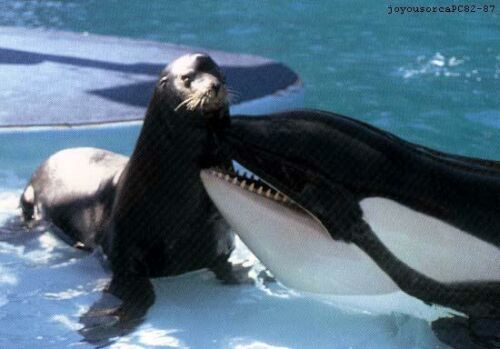

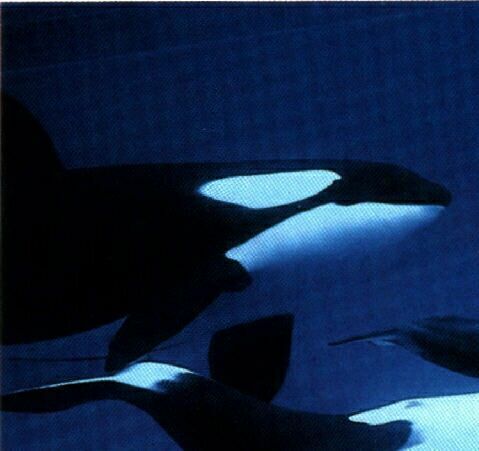
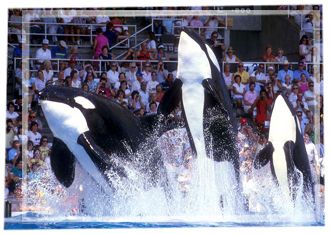
pictures of Kona 2 provided by Joyousorca.
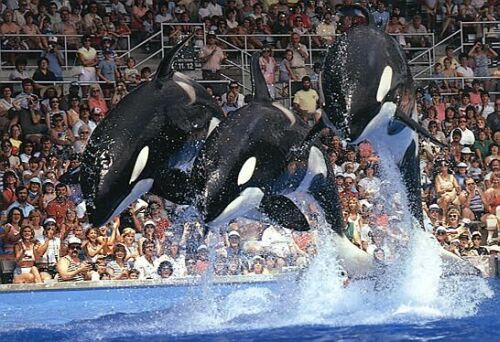
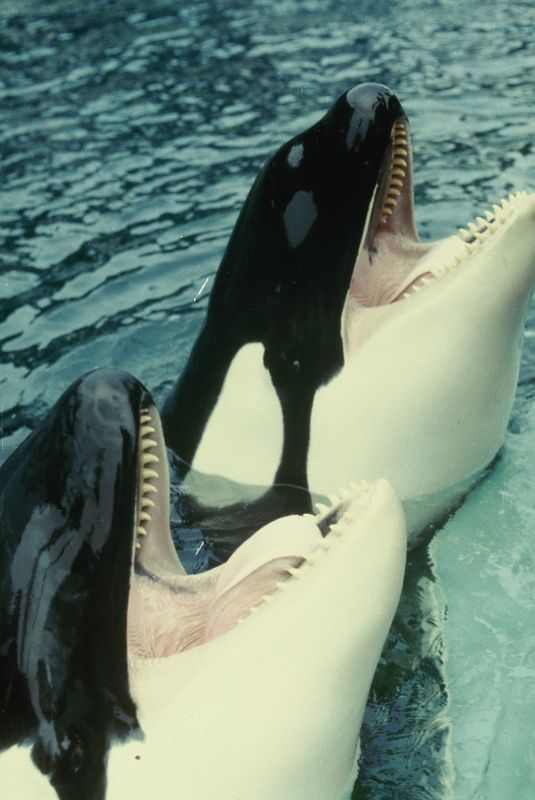
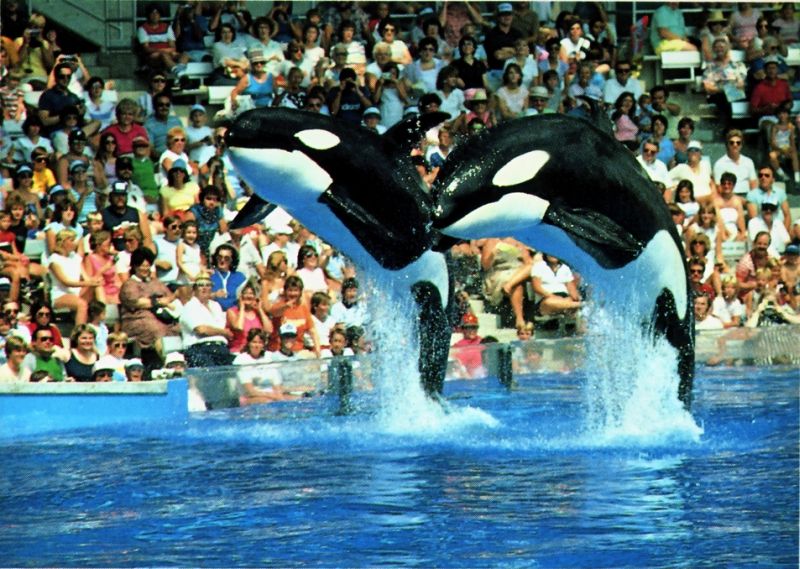
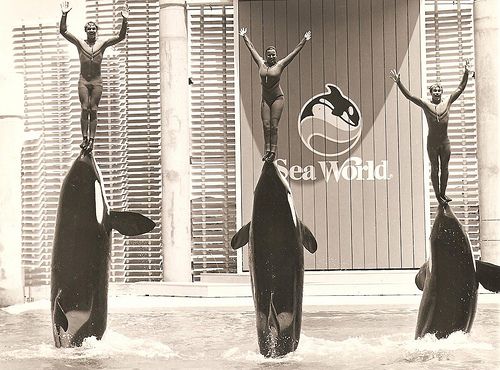
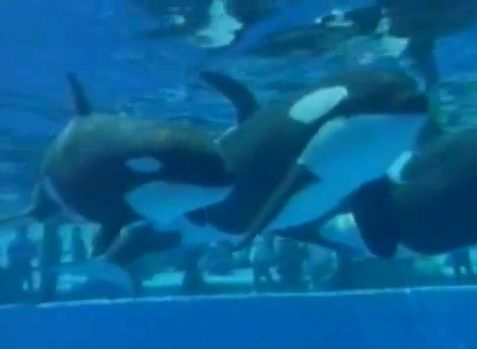
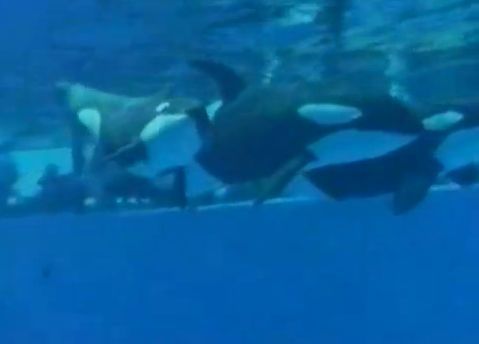
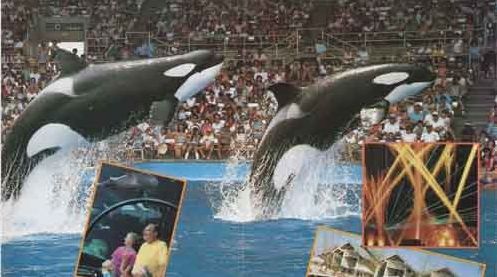
picture of Kotar, Kahana and Kona 2 (left to right) provided by Blackmoon2101.
picture of Kona 2 provided by Orcaholic2001.
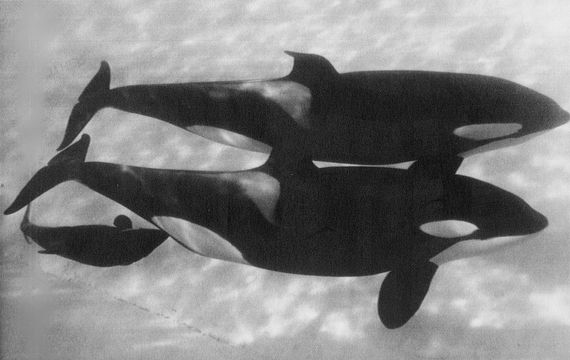
picture of Kona 2 and Ramu provided by Orcaloverw.
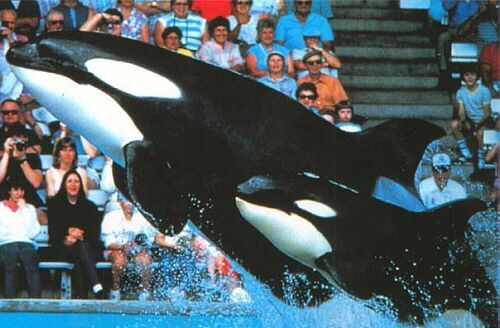
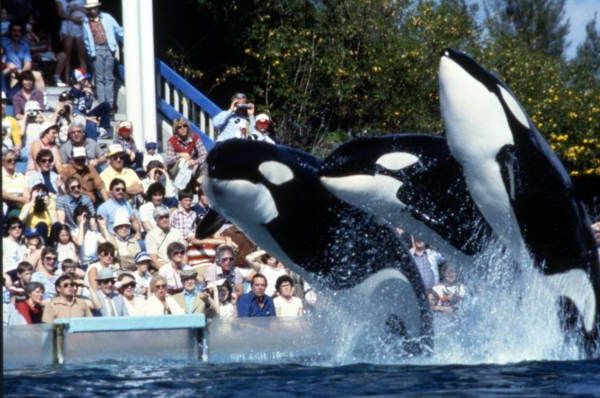
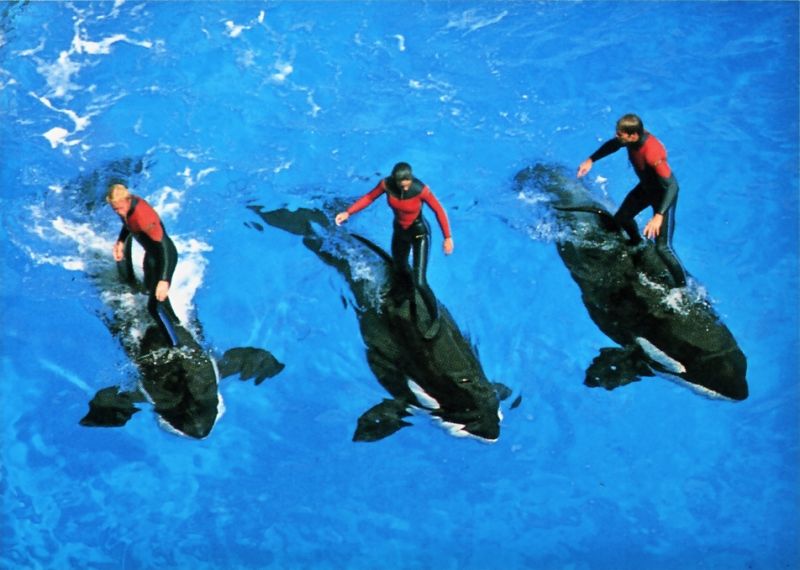
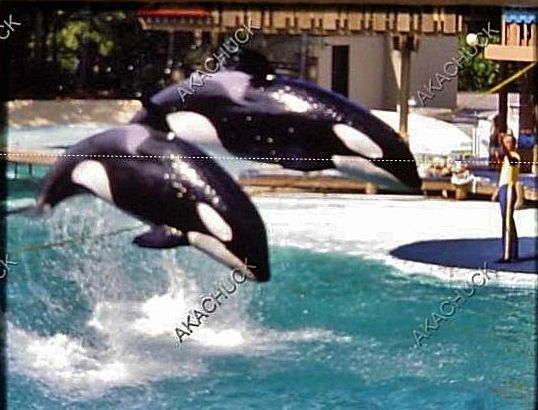
picture of Kona 2 and Kahana provided by HaH.
picture of Kona 2 provided by EmilyOrca and Kimmy Vengeance.
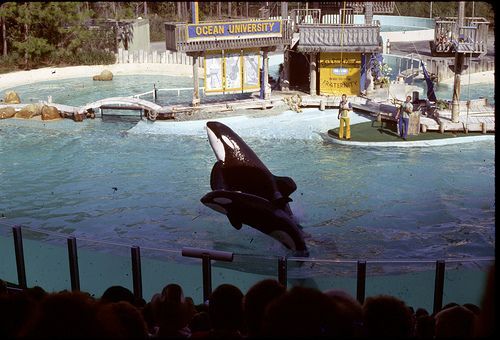
pictures of Kona 2 provided by Kimmy Vengeance and the State Archives of Florida.
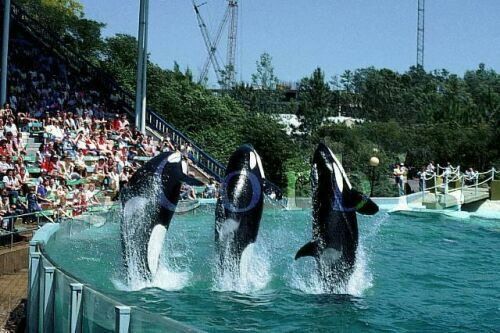
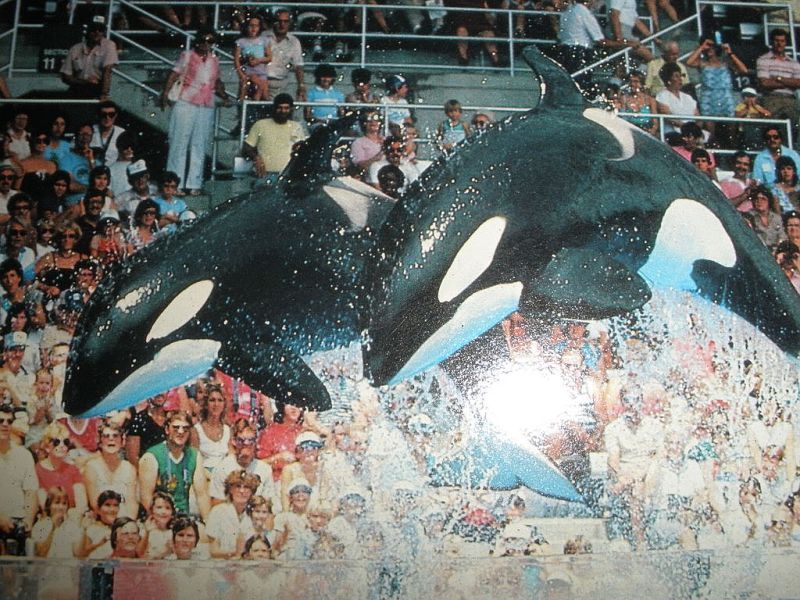
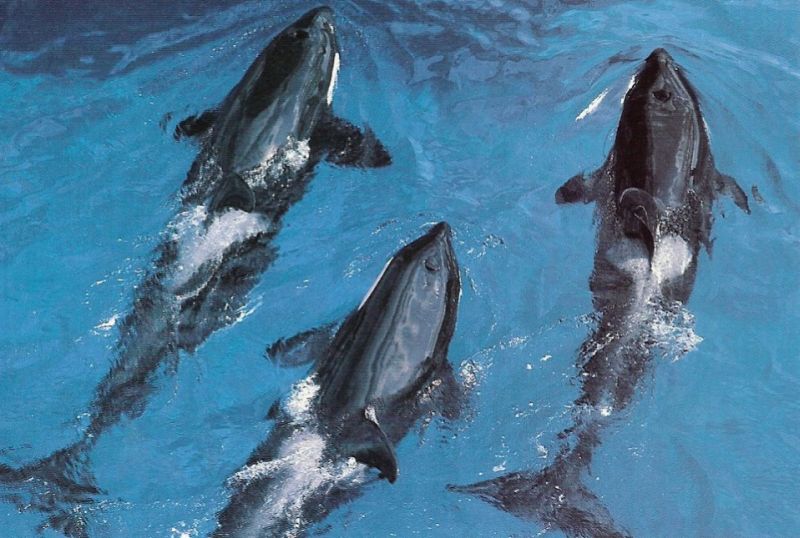
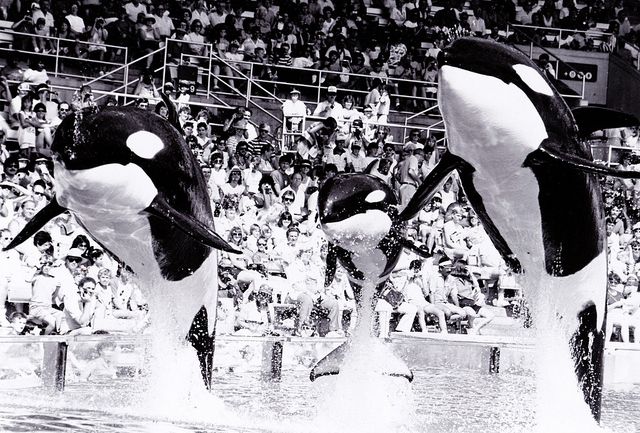
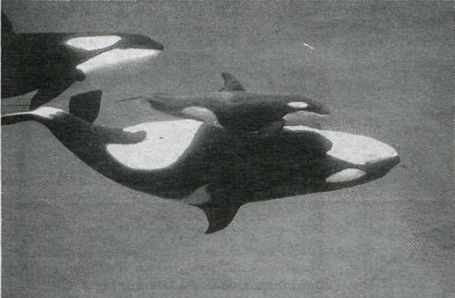
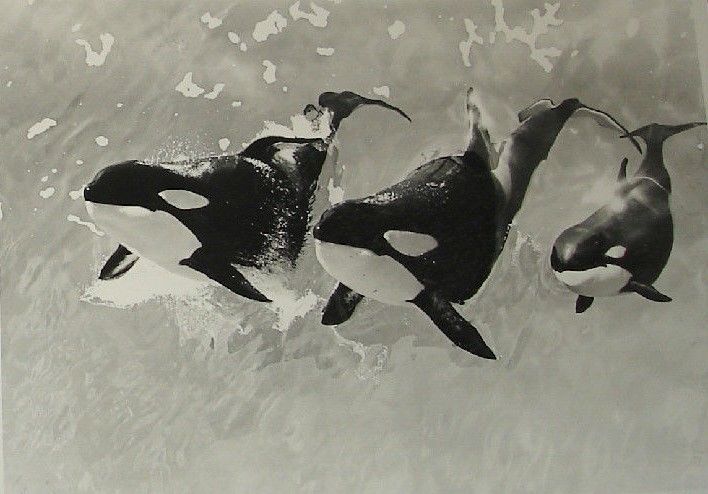
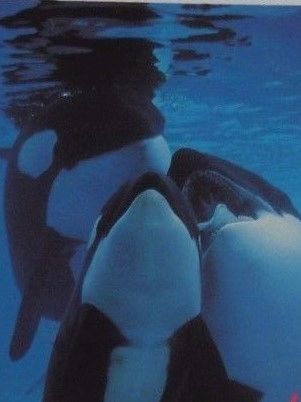
picture of Kona 2, Kalina and Katina (front to back) provided by Kimmy Vengeance.
pictures of Kona 2 provided by Jovana Ivastanin.
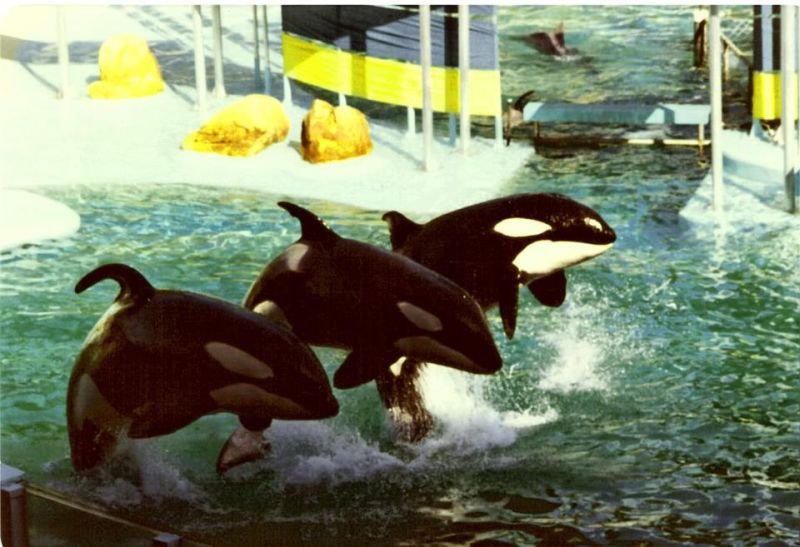
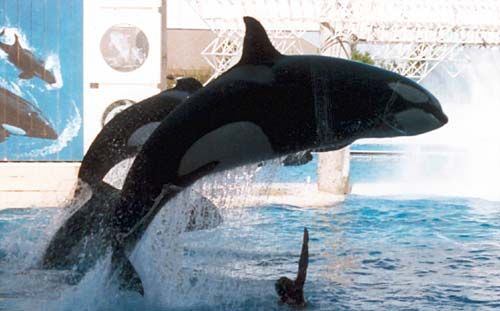
picture of Kona 2, Kahana and Kotar (left to right) provided by anonymous.

pictures of Kona 2 provided by Valentin666.

pictures of Kona 2 provided by Jason Lee Scott.
pictures of Kona 2 provided by Coral.
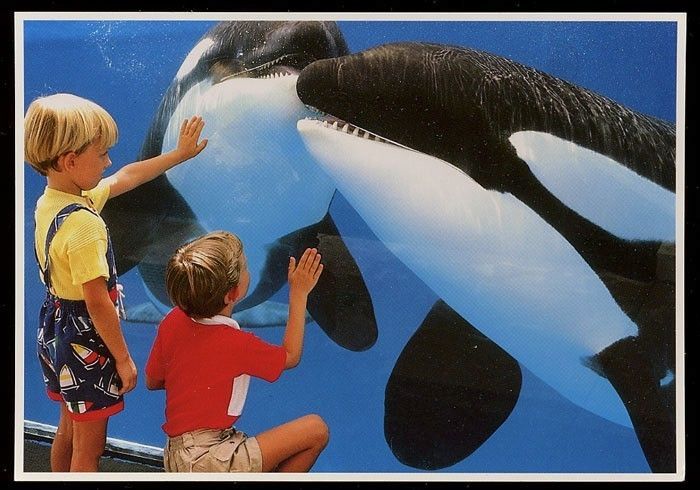
picture of Kona 2 provided by David Bagnall and Kimmy Vengeance.
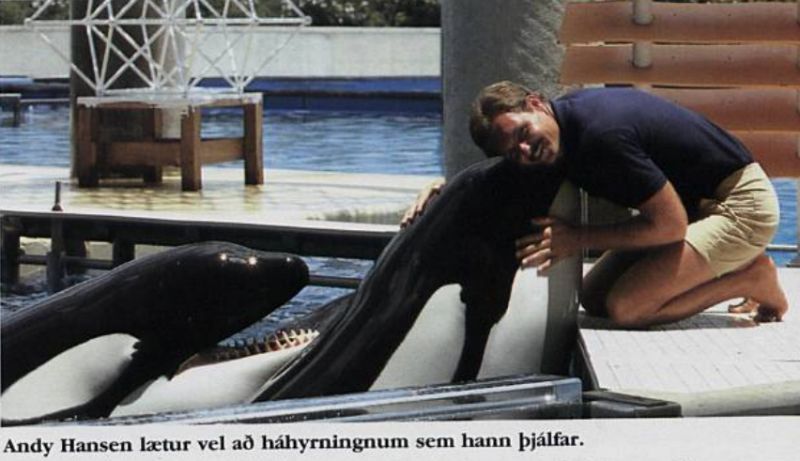


pictures of Kona 2 provided by HaH.
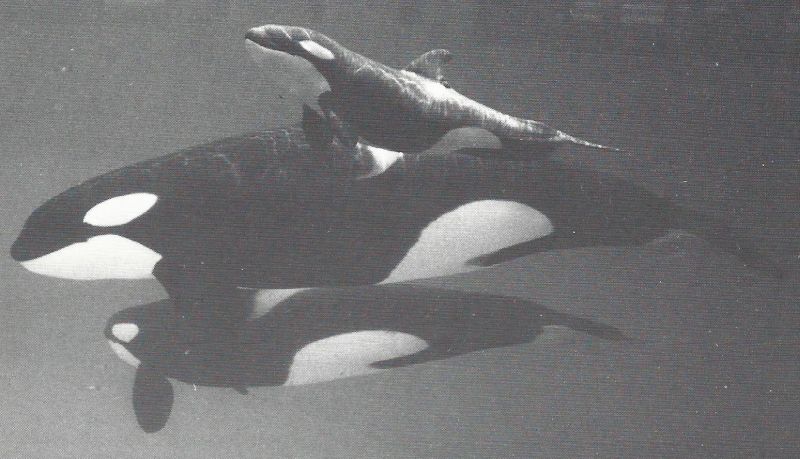
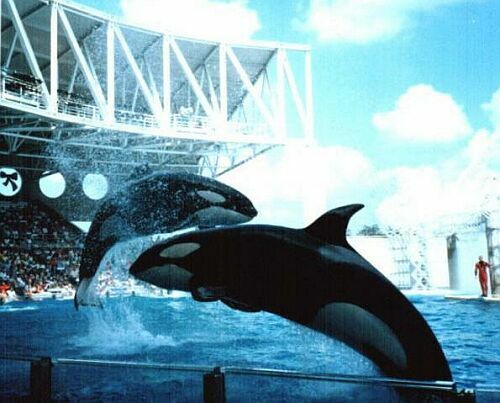
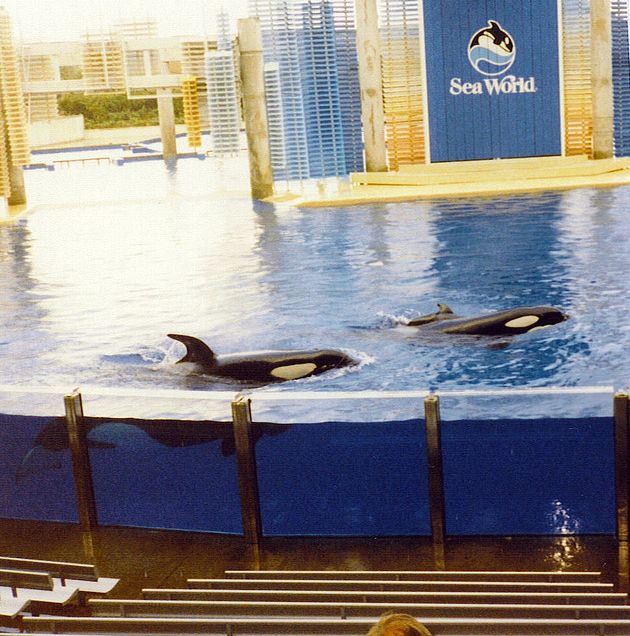
picture of Katina, Katina and Kona 2 (top to bottom) provided by Jerry Roberts, provided by Jordan Waltz.
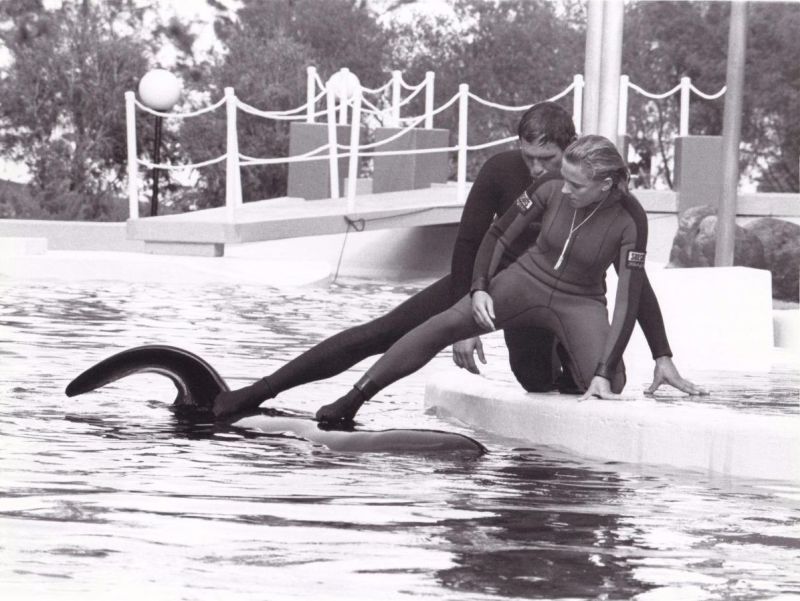
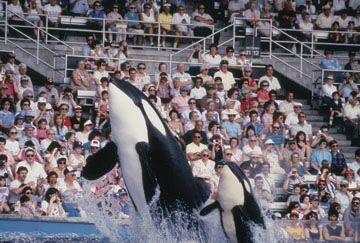
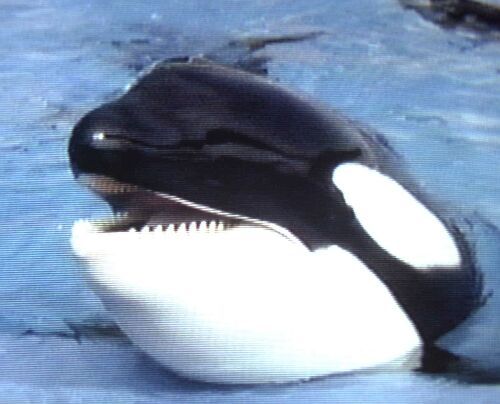
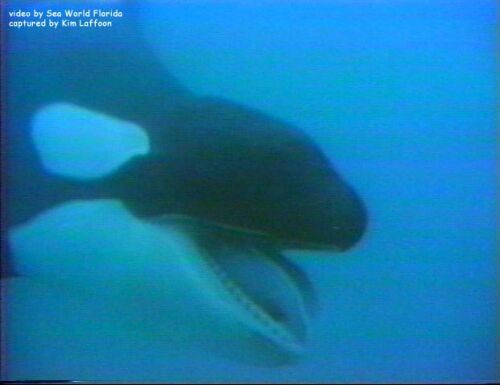
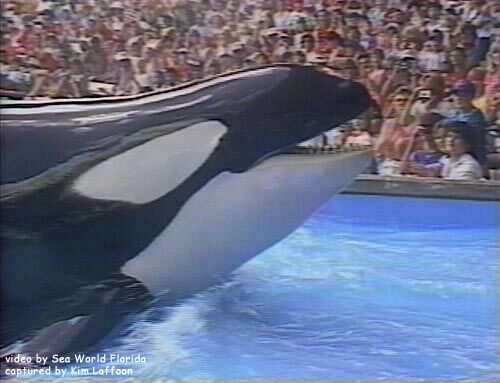
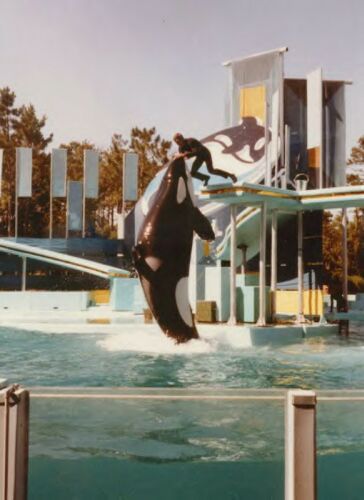
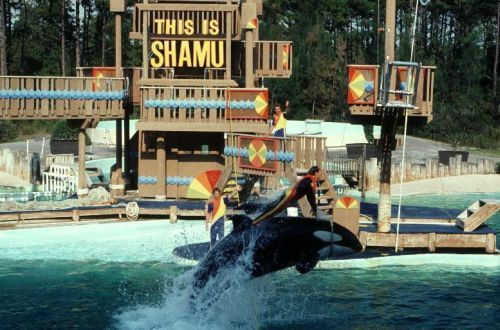
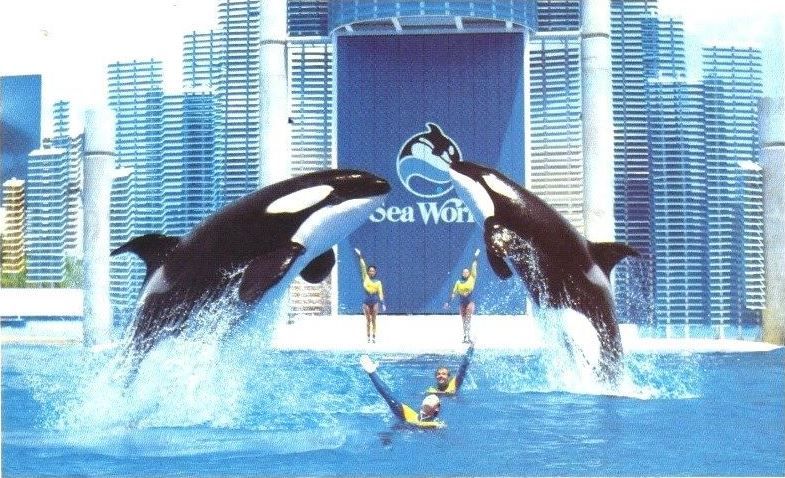
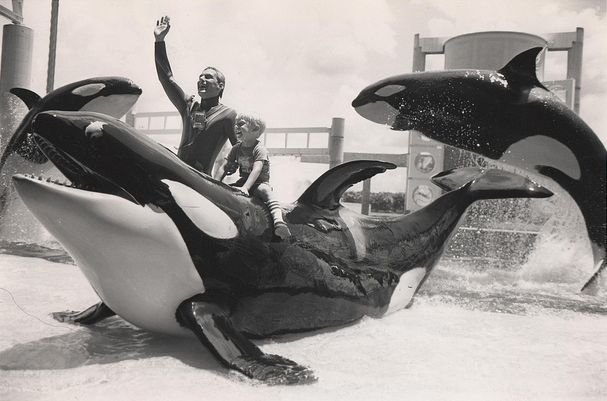
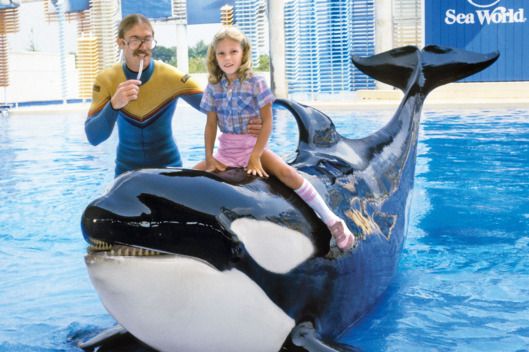
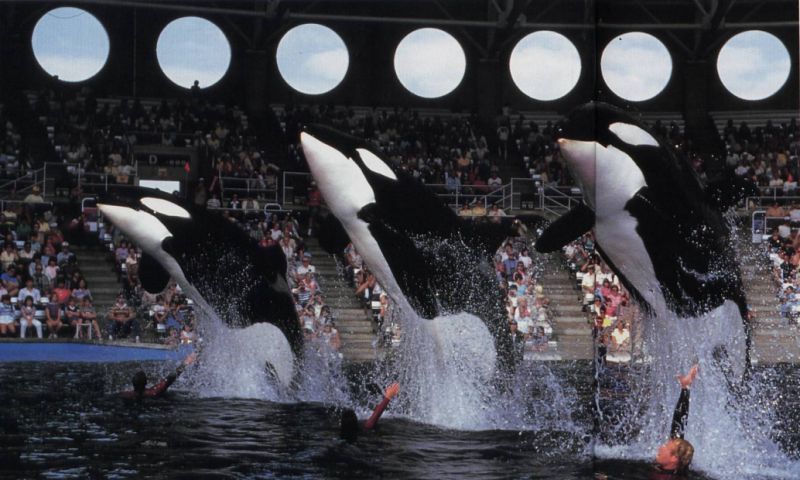
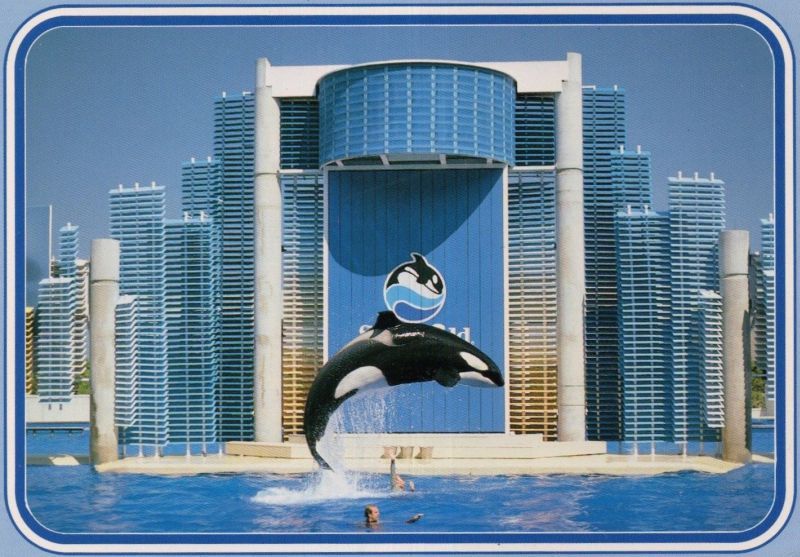
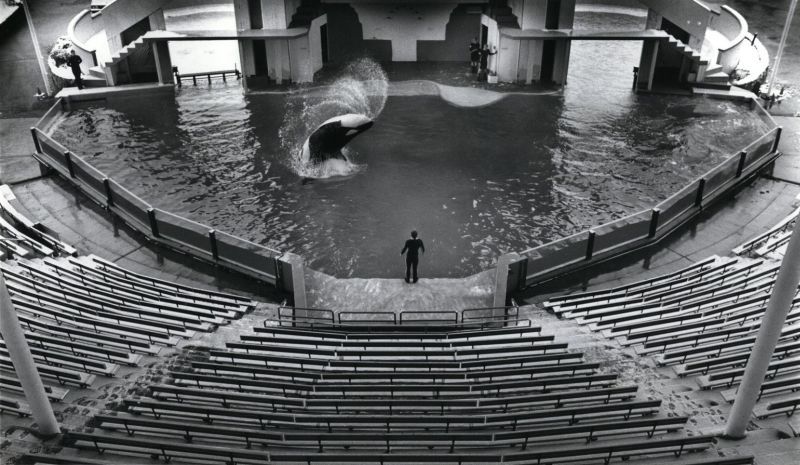
pictures of Kona 2 by SeaWorld, provided by Sara Farrell.

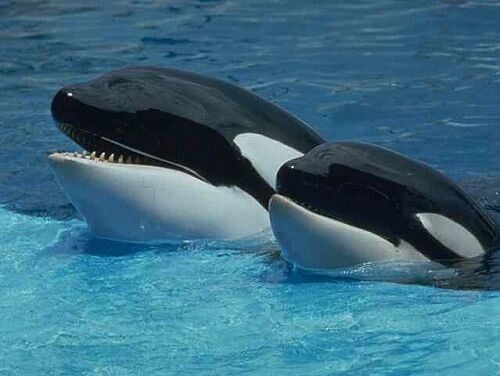
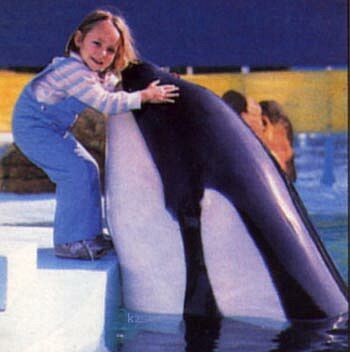
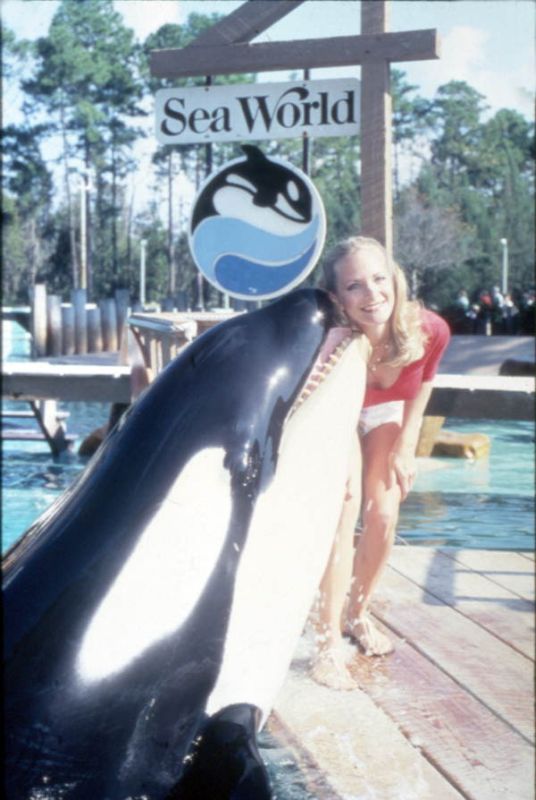
picture of Kona 2 provided by Sara Farrell.
Please don't use any of these pictures without permission!